Forget time-consuming crusts and fiddly custards. This easy pear tart recipe comes together in less than 10 minutes using a blender. Quick, easy, and impressive--it's the perfect easy tart for any day of the week!
If you love fruity desserts, don't miss these recipes for apple olive oil cake and my mom's apple crisp.
Introduction
I love French-style pear tarts, but never feel like making pastry, so I usually opt for simpler desserts, like my lemon yogurt cake. But when a Spanish friend introduced me to her Spanish pear tart, I was intrigued.
It was just as pretty as any pear tart, but had no crust and was more flan-like in texture. A different dessert to be sure, but still delicious and (most importantly) so easy with only five main steps!
This recipe is perfect for anyone looking for a quick dessert; the hardest part is cutting up the pears! I don't have many recipes that are mixed in a blender (and I'm always skeptical when I see one) -- but, honestly, this Spanish pear tart recipe is great, and you'd never know it was so simple.
Ingredients
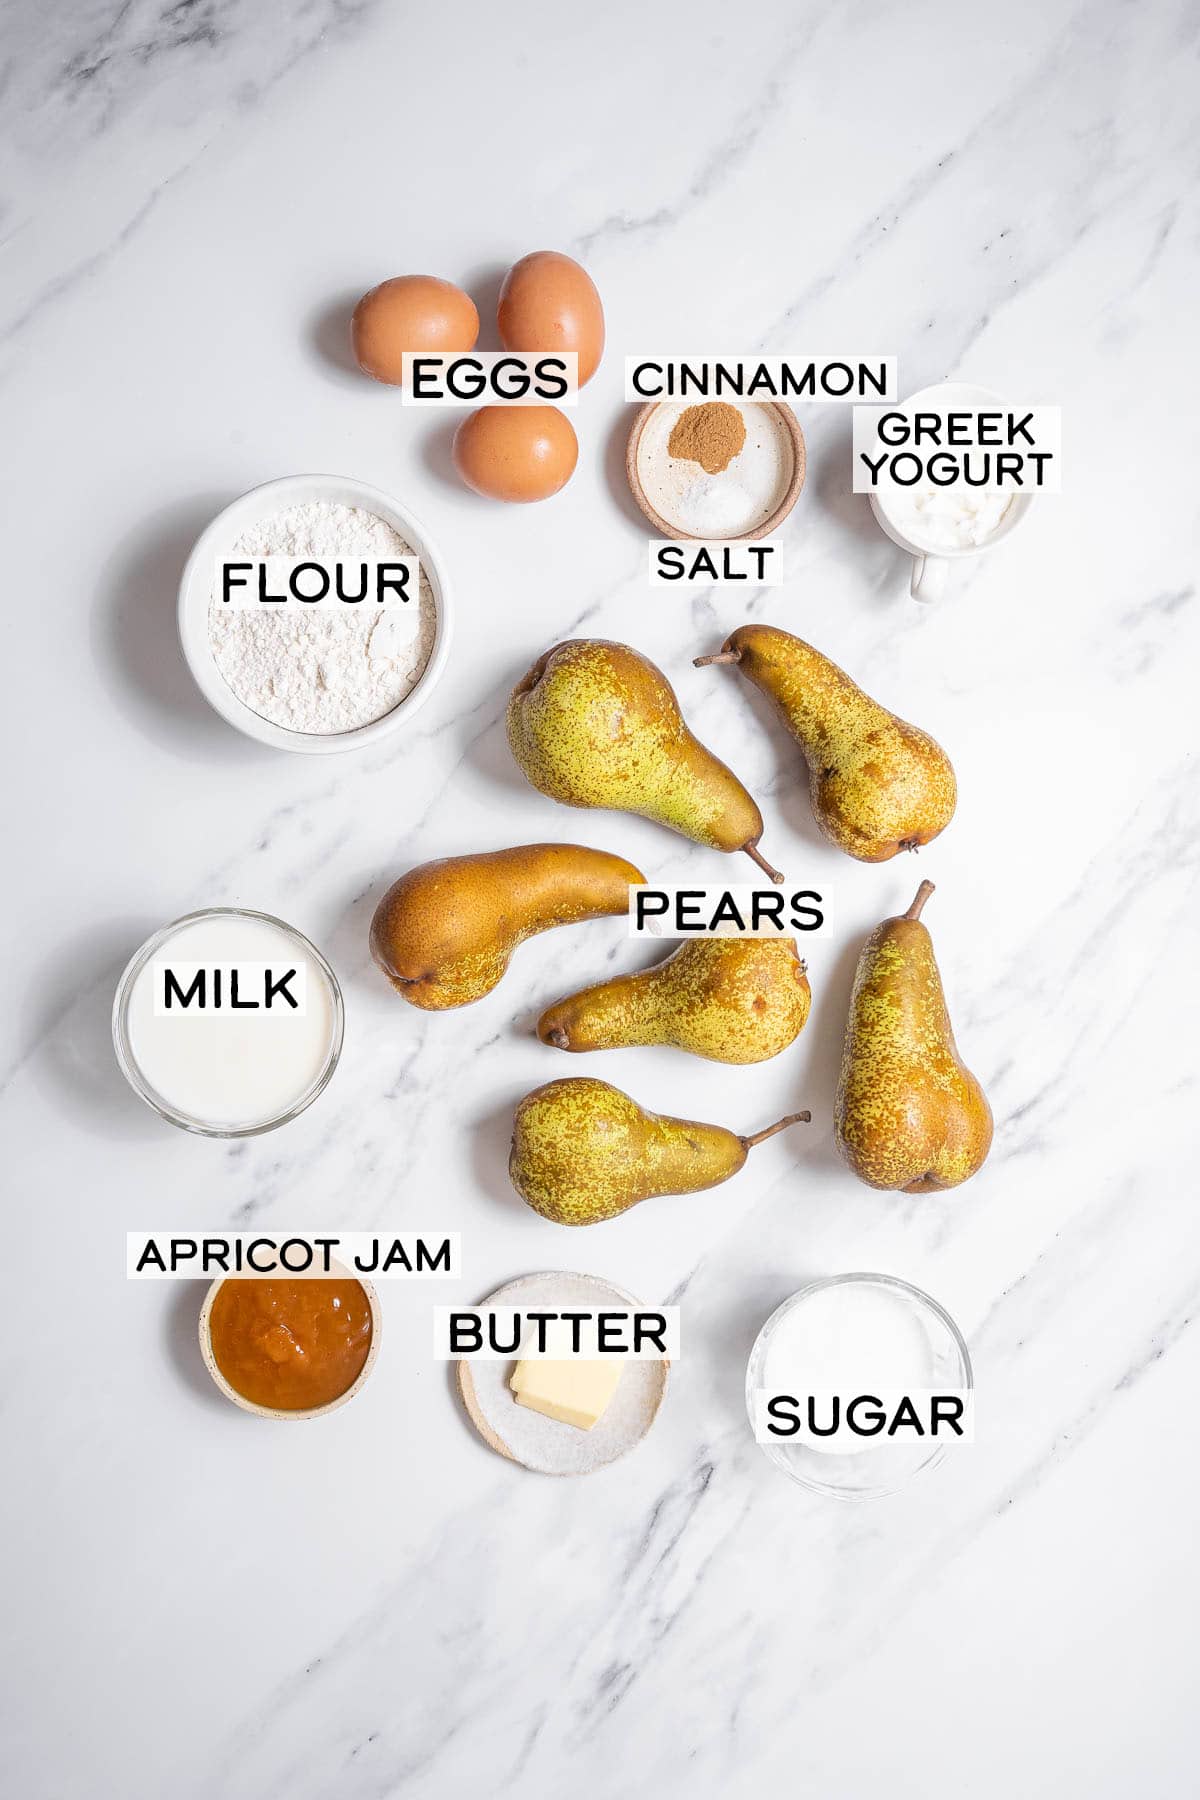
Wondering what ingredients you need for this Spanish pear tart? Fortunately, you only need 10 basic ingredients you probably already have on hand.
- Pears: Use any firm, juicy, and sweet pear in this recipe. They're the star of the show!
- Greek Yogurt: This adds a richness and creaminess to the tart that, along with the eggs, gives this a flan-like texture.
- Cinnamon: This
- Jam: g
See recipe card for full information on ingredients and quantities.
Variations
- Don't want to make this with pears? Use apples instead. Make the filling with ¾ cup of applesauce instead of chopped apples.
- Swap the cinnamon for substitute nutmeg, lemon zest, vanilla extract, or even a tablespoon of liquor (brandy or sherry both work well).
- I like to brush the finished tart with apricot jam to glaze, but you can use the jam of your choice or even honey.
How to Make Spanish Pear Tart
If you’d like to see the full ingredients and instructions, scroll to the bottom of the post for the printable recipe card.
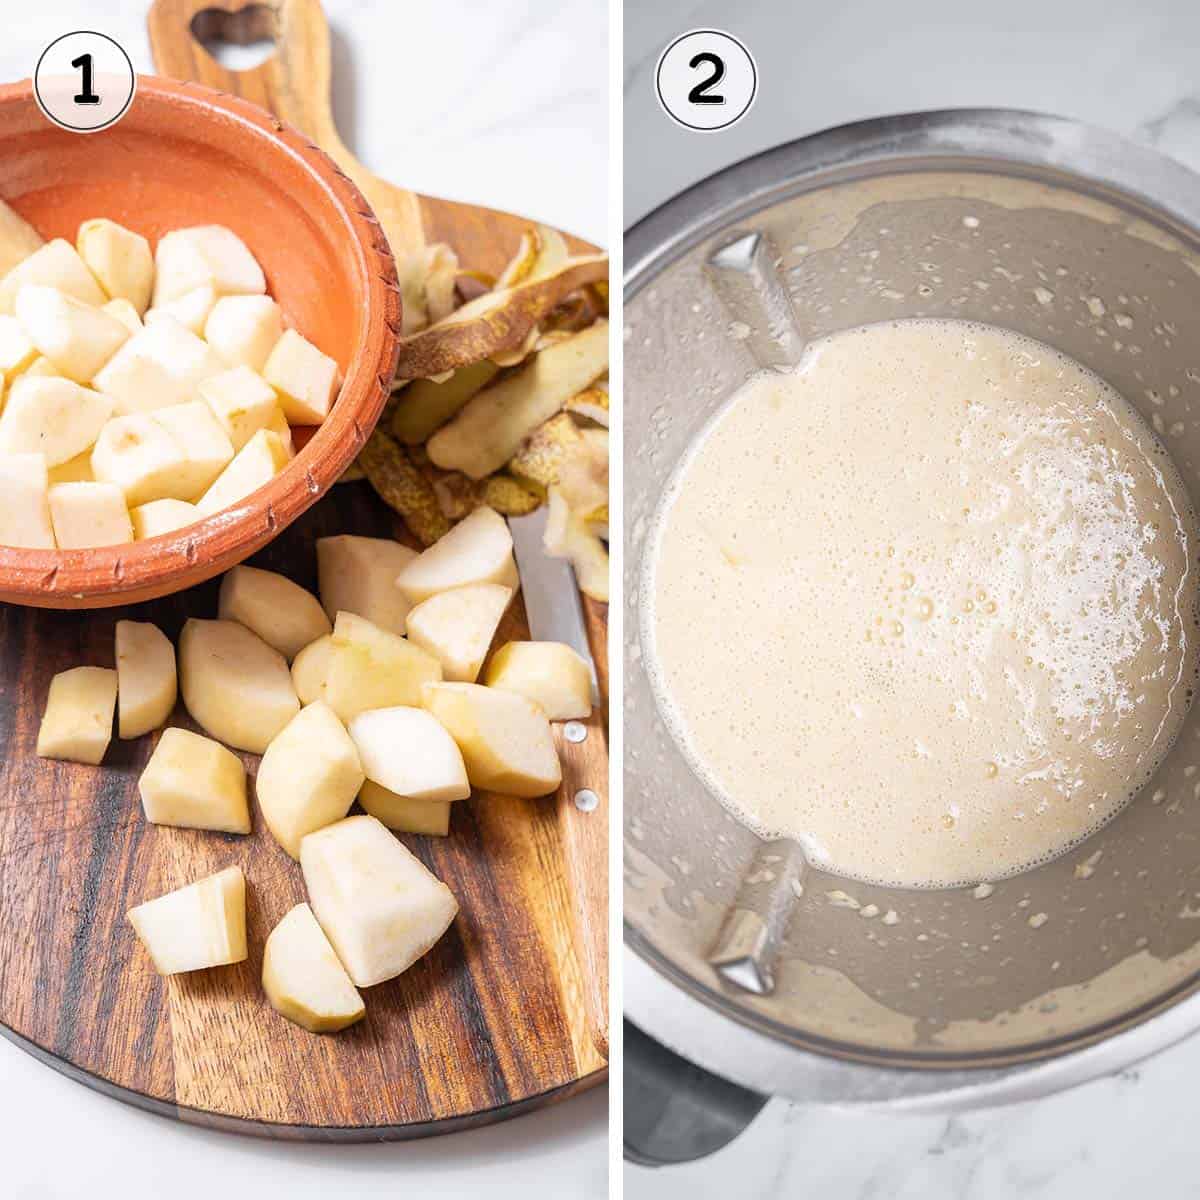
- Peel and roughly dice the pears for the filling. (image 1)
- Put all of the ingredients into the blender (liquids first)--except for the apricot jam, which is the glaze for later. Blend in the blender until everything is evenly mixed. Don't keep blending once it's done -- no need to over mix. (image 2)
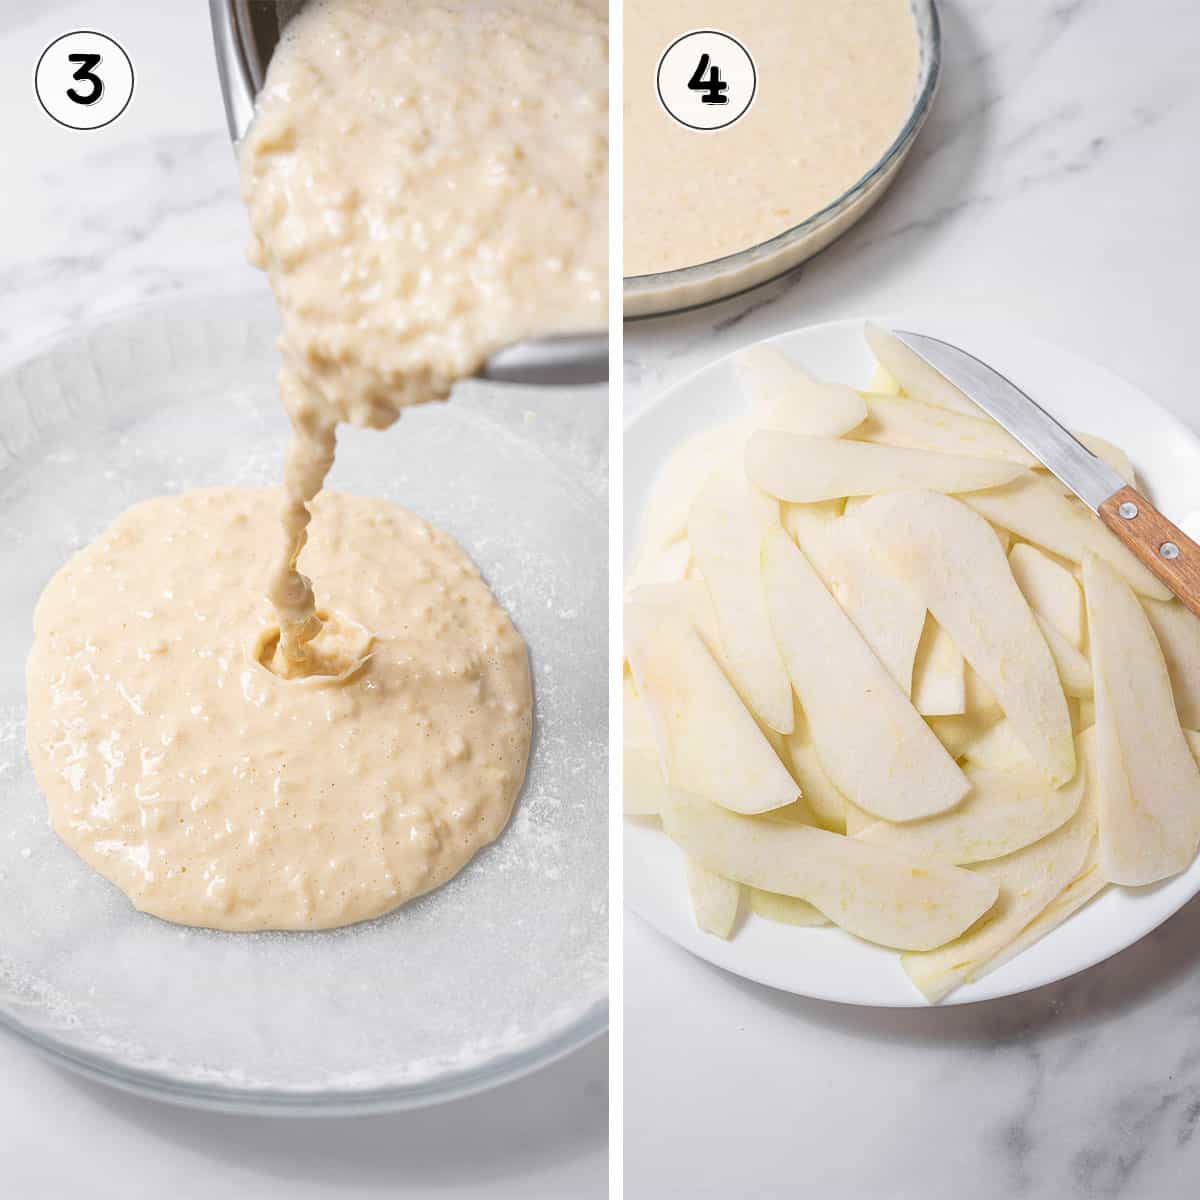
- Pour the batter into an 11-inch (28 cm) tart pan. Don't overfill, as the pears will make the batter rise more. If you have extra batter, you can make another mini tart. (image 3)
- Slice the remaining pears into thin, even slices about ⅛ inch (3 mm) thick. (image 4)
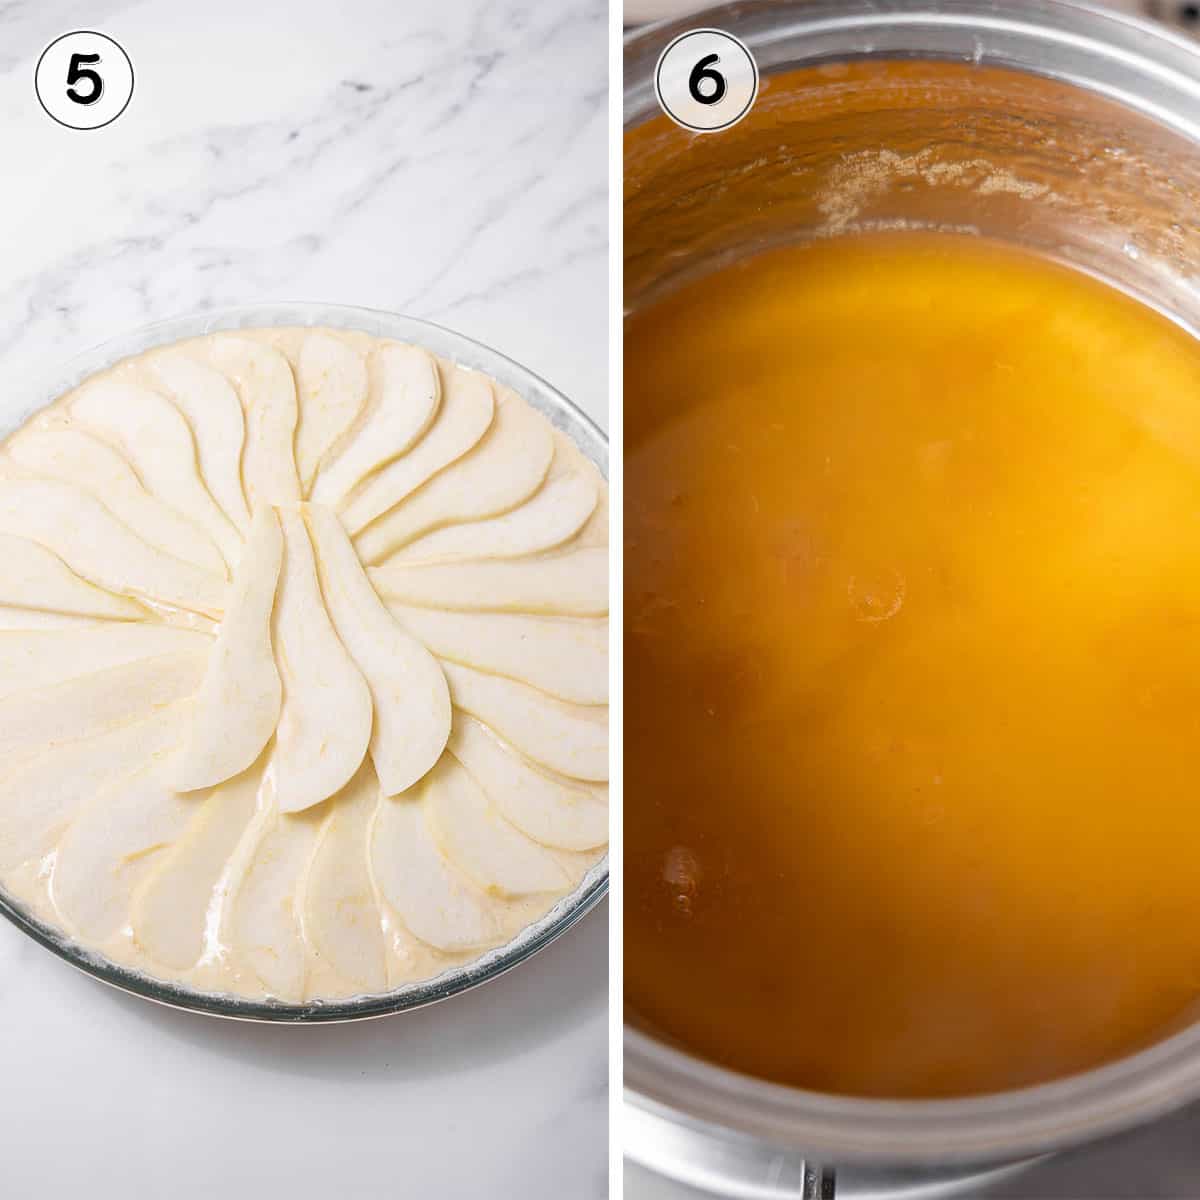
- Carefully lay the pear slices on the tart batter, starting with the outer ring and moving inwards. Bake at 350°F (175°C) for 50 minutes, or until a toothpick comes out completely clean. If it looks dry on top, don't worry; this will be fixed with the glaze! (image 5)
- Wait 30 minutes for it to cool, and then heat 2 tablespoons of apricot jam with 1 tablespoon of water. (image 6)
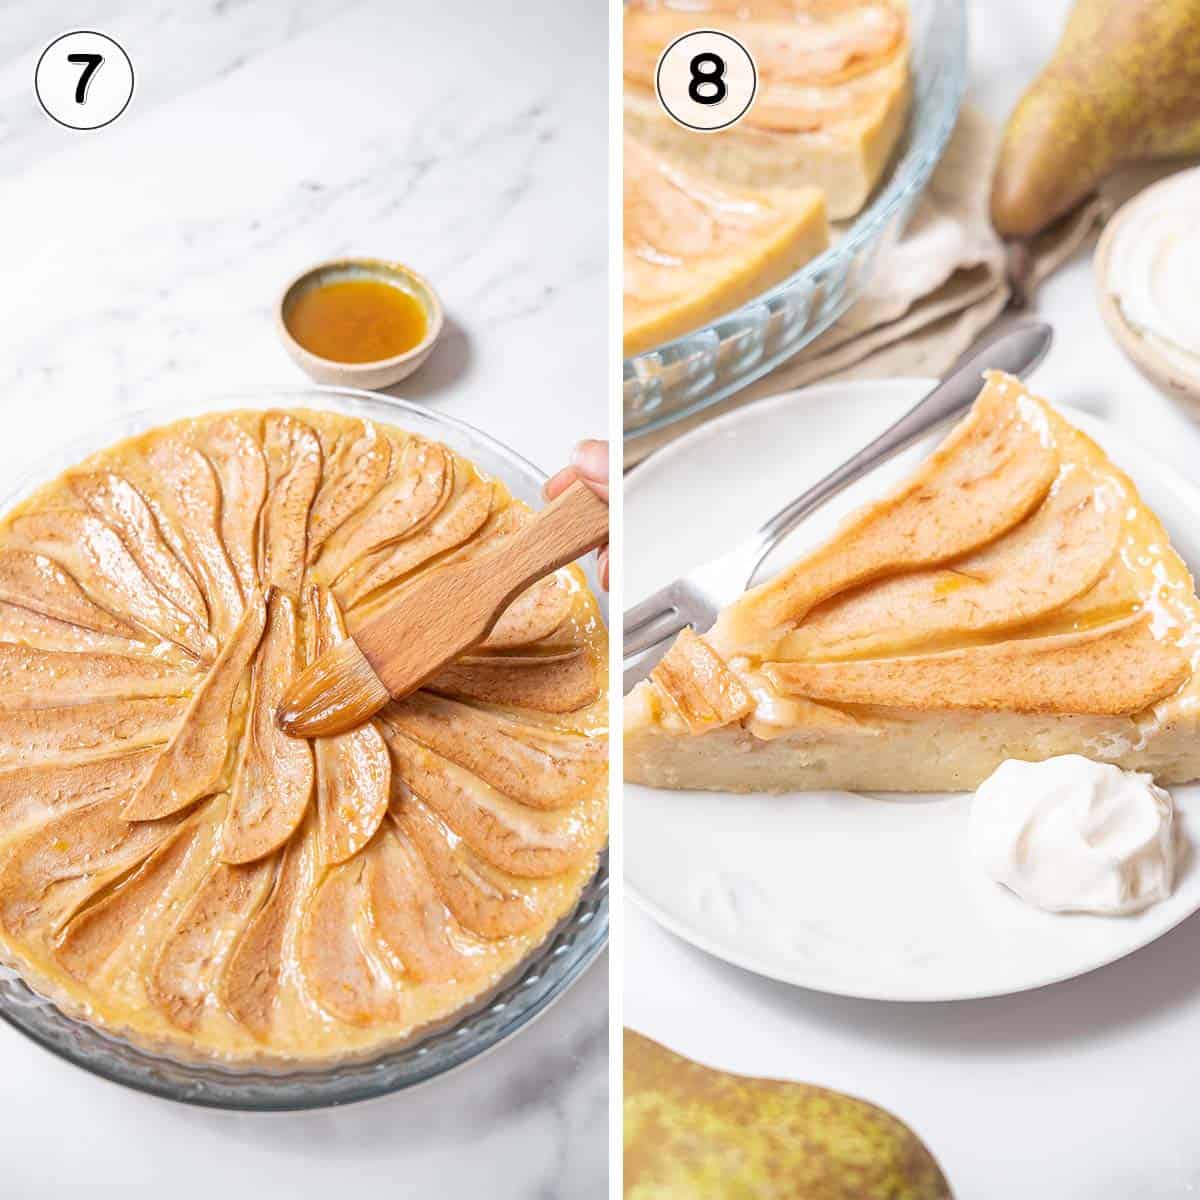
- Brush the glaze on top of the tart. (image 7)
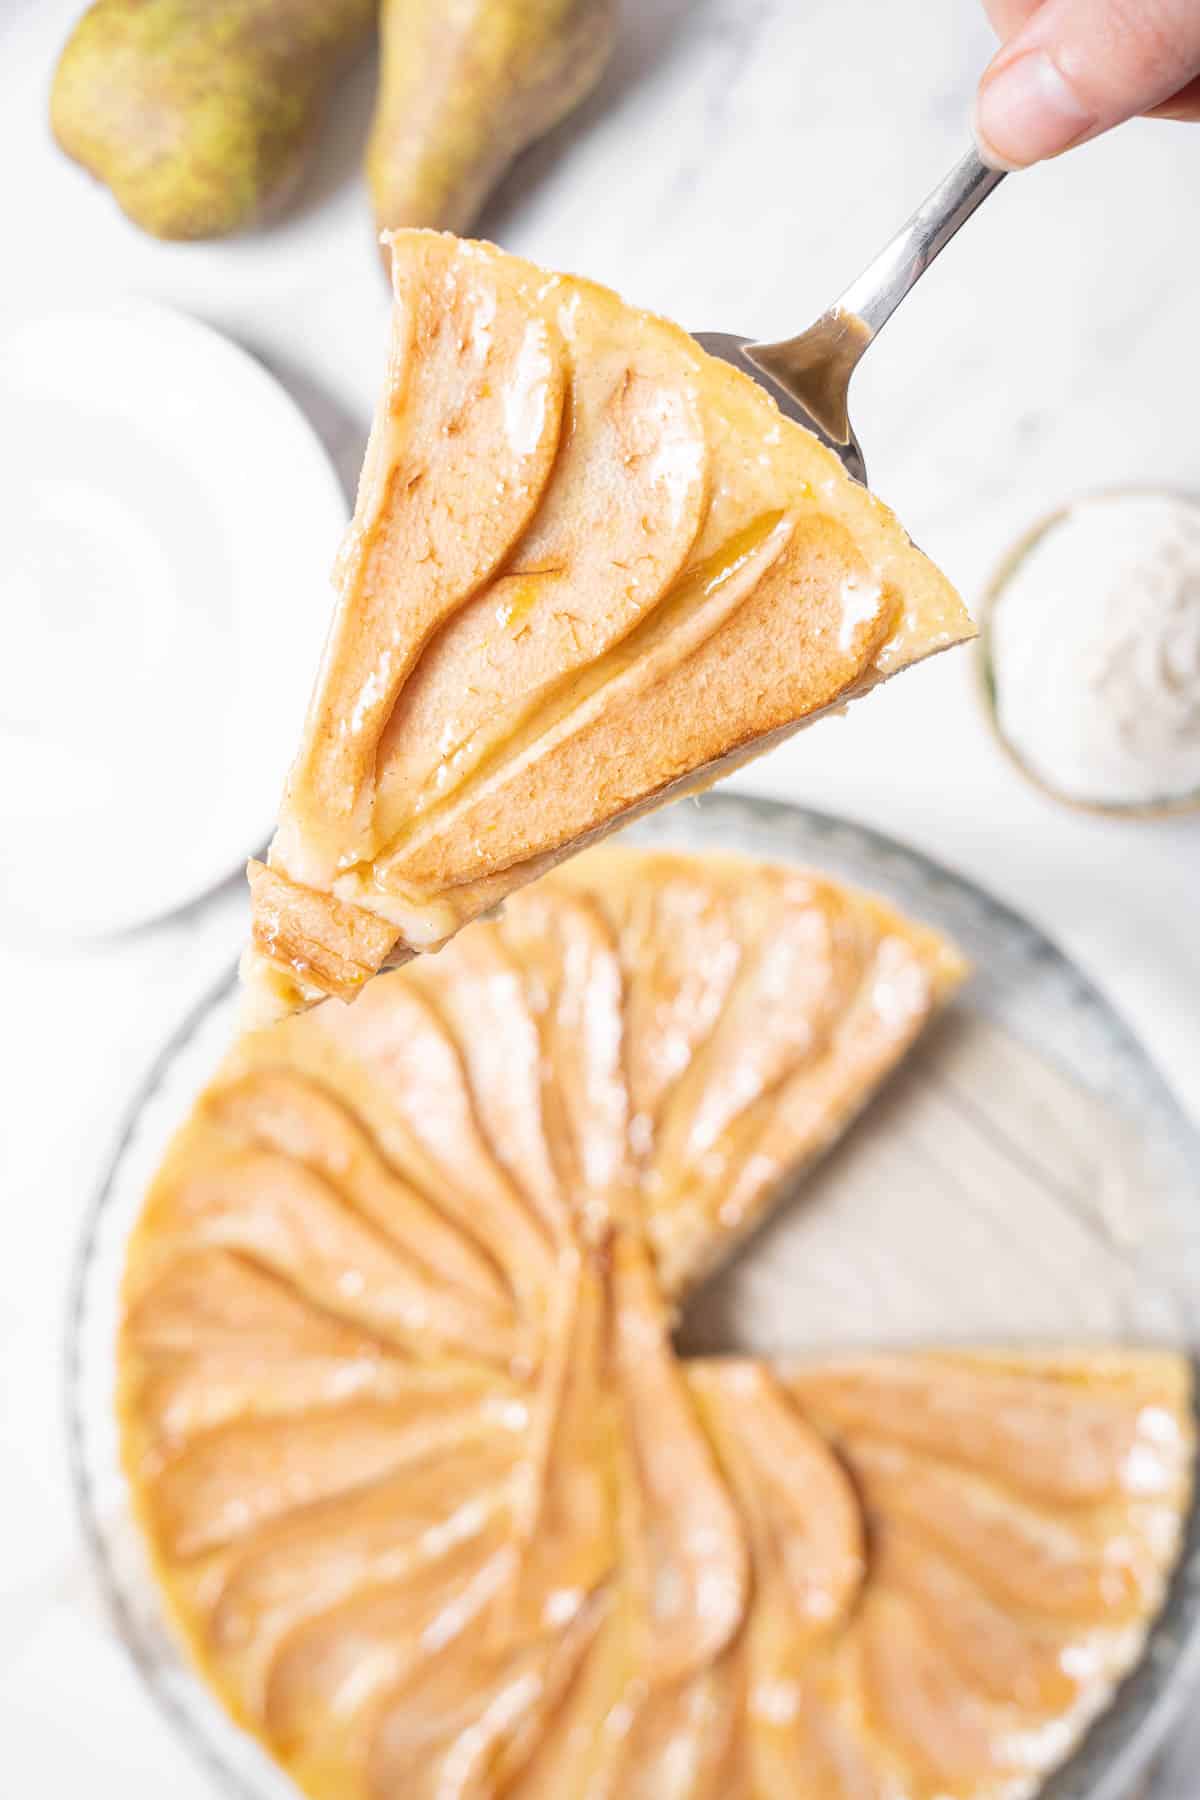
- Wait for it to cool, and then take the tart out of the mold. Enjoy with a sprinkle of powdered sugar if you wish! (image 8)
Recipe FAQs
Hearty pears like Bosc or Anjou are great options because they are firmer and don't turn to mush when cooked. Any firm, sweet, and juicy pear will work well in this tart!
It depends. Some pear varieties have a thick, mealy skin. Others have a nice skin. If you would like to keep the skin on please do -- it adds a burst of color and texture to the tart!
This pear tart is meant to be enjoyed cold. It is like a pear flan in texture, and will taste better right out of the fridge.
Yes, make sure the tart is well wrapped in plastic wrap and freeze for up to three months. To defrost leave it out on the counter until it comes to room temperature.
Wrap the tart in plastic wrap and put in the fridge for up to three days.
Serve
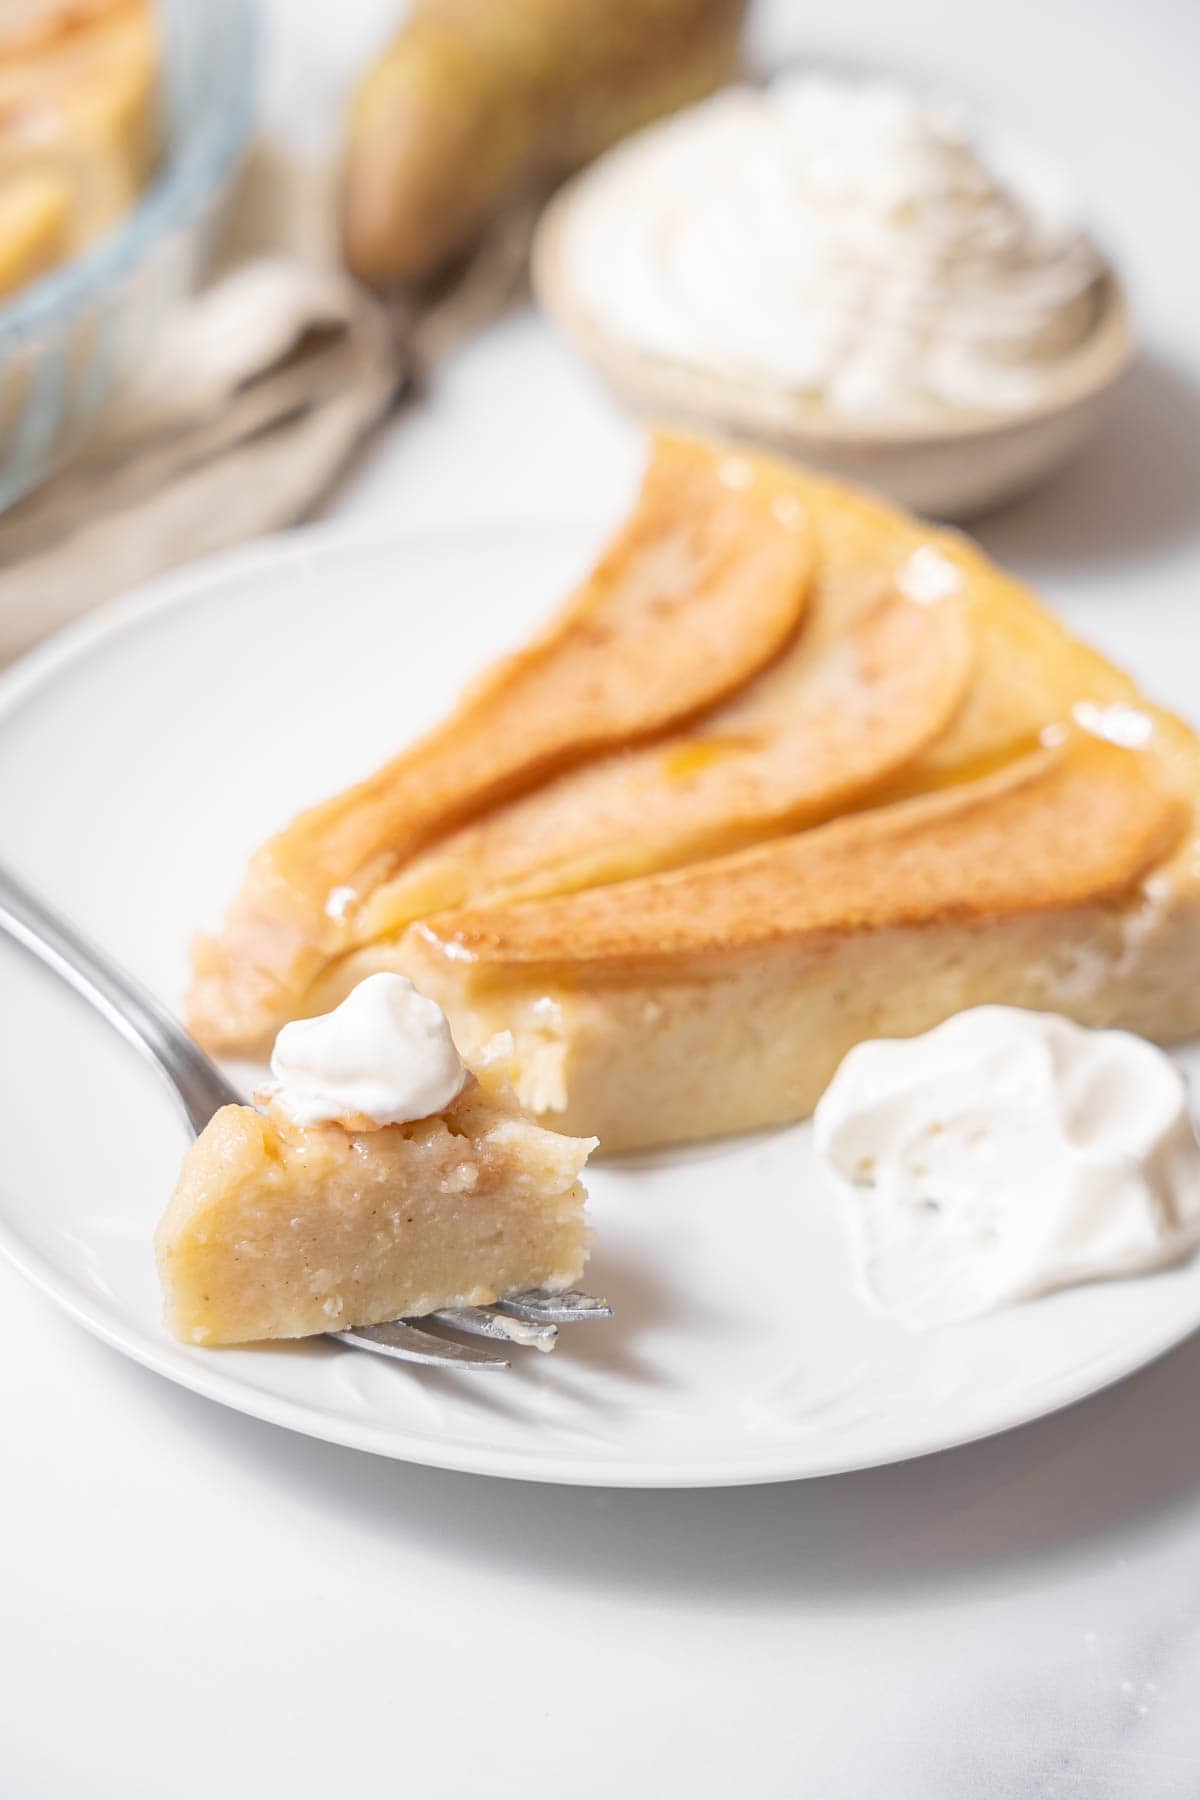
This pear tart recipe is perfect served with vanilla ice cream or fresh whipped cream. It is very sweet already, so I like to make my whipped cream without any added sweetening. And, of course, when enjoying something sweet here in Spain, we always need a hot café con leche!
Expert Tips
- Be careful not to over-blend the tart filling mixture, or it may be tough.
- Enjoy this tart cold; it's best right out of the fridge.
- Store the tart wrapped in plastic wrap for up to 3 days in the fridge, or up to 3 months in the freezer. Defrost by bringing to room temperature on the counter.
- Want to try this tart with apples? Use ¾ cup of applesauce in the filling instead of fresh apples, and garnish the top with thinly sliced apples.
More Spanish Cake Recipes
If you liked this recipe, please share it with others!
Follow Spanish Sabores on Facebook, Pinterest, and Instagram for more recipes and travel tips.
If you've made and enjoyed this recipe, please leave a 5-star review!
Easy Spanish Pear Tart
Ingredients
For the Filling
- 3 large eggs
- ¾ cup whole milk
- ¼ cup Greek yogurt or sour cream
- 3 medium pears peeled and cut in chunks
- 1 cup all-purpose flour
- ½ cup granulated sugar
- 1 teaspoon cinnamon
- ¼ teaspoon salt
For the Topping
- 2-3 medium pears thinly sliced
- 2 tablespoons apricot jam
- 1 tablespoon water
- powdered sugar for garnish
Instructions
- Preheat the oven to 350°F (175°C). Grease and flour an 11-inch (28 cm) tart mold, or prepare mini tart molds if you prefer.
- Add all of the filling ingredients to a blender, pouring in the liquid ingredients first for the best results. Blend slowly until everything is fully mixed. Do not over blend.
- Pour the batter into the mold, making sure to leave space for the sliced pear topping. The batter will barely rise when baking, but the addition of the pears will make it rise in the pan.
- Cut the other three pears in thin slices to decorate the tart. I don't do this earlier so that they don't turn brown. Carefully place them around the tart, one overlapping with the next. Start with the outer ring and move inwards.
- Bake the tart for 50 minutes, or until a toothpick comes out of the center completely clean. Let the tart cool on a wire rack for 30 minutes.
- Meanwhile, make the glaze. Mix the apricot jam with 1 tablespoon of water, and heat until warm. Once the tart has cooled, gently brush it on top.
- Unmold the cooled tart and refrigerate on a plate until you are ready to serve. Garnish with powdered sugar on top if desired, then slice and enjoy!
Notes
- Be careful not to over-blend the tart filling mixture, or it may be tough.
- Enjoy this tart cold; it's best right out of the fridge.
- Store the tart wrapped in plastic wrap for up to 3 days in the fridge, or up to 3 months in the freezer. Defrost by bringing to room temperature on the counter.
- Want to try this tart with apples? Use ¾ cup of applesauce in the filling instead of fresh apples, and garnish the top with thinly sliced apples.
Nutrition
Photography by Giulia Verdinelli



Rex Hutcheson
Easy prep, good taste, pleasant appearance.
Sel Runn
Very nice, and easy...thank you! USA S.F. CA with roots in Santander the city by the great Cantrabia